Blog

Free DIY Halloween Paper Dolls with Cardboard Tubes

Only a few more weeks to go and it’s Halloween! It’s one of our favourite holidays, lots of candy and dress ups, need I say more! 

Halloween Paper Dolls

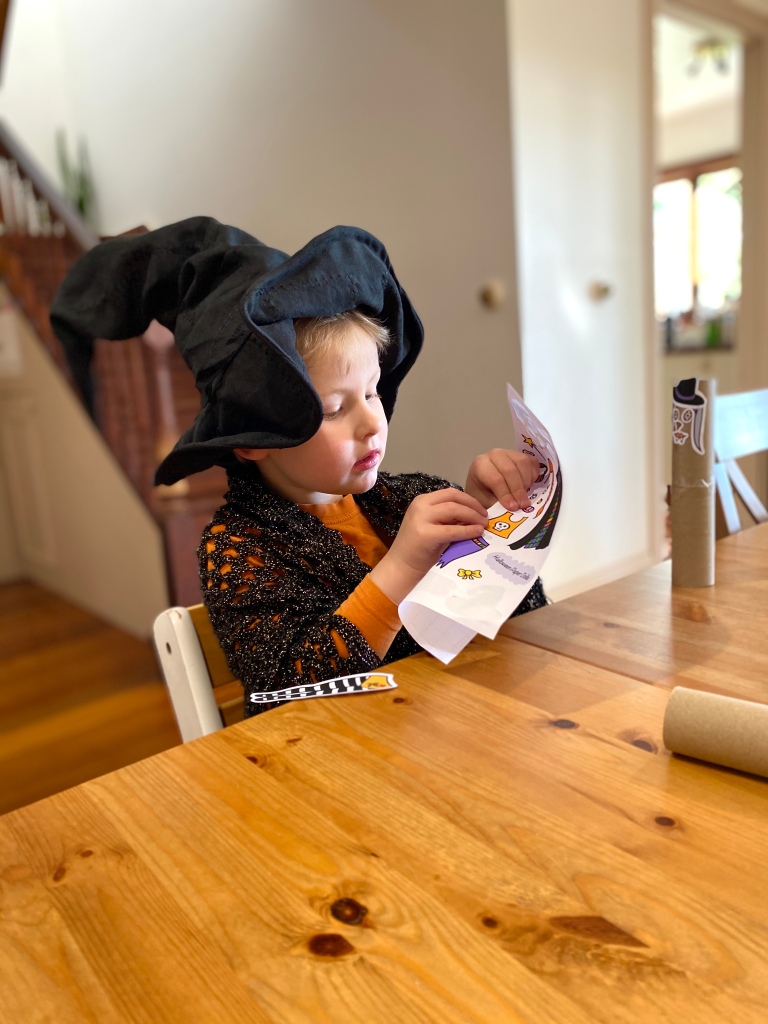
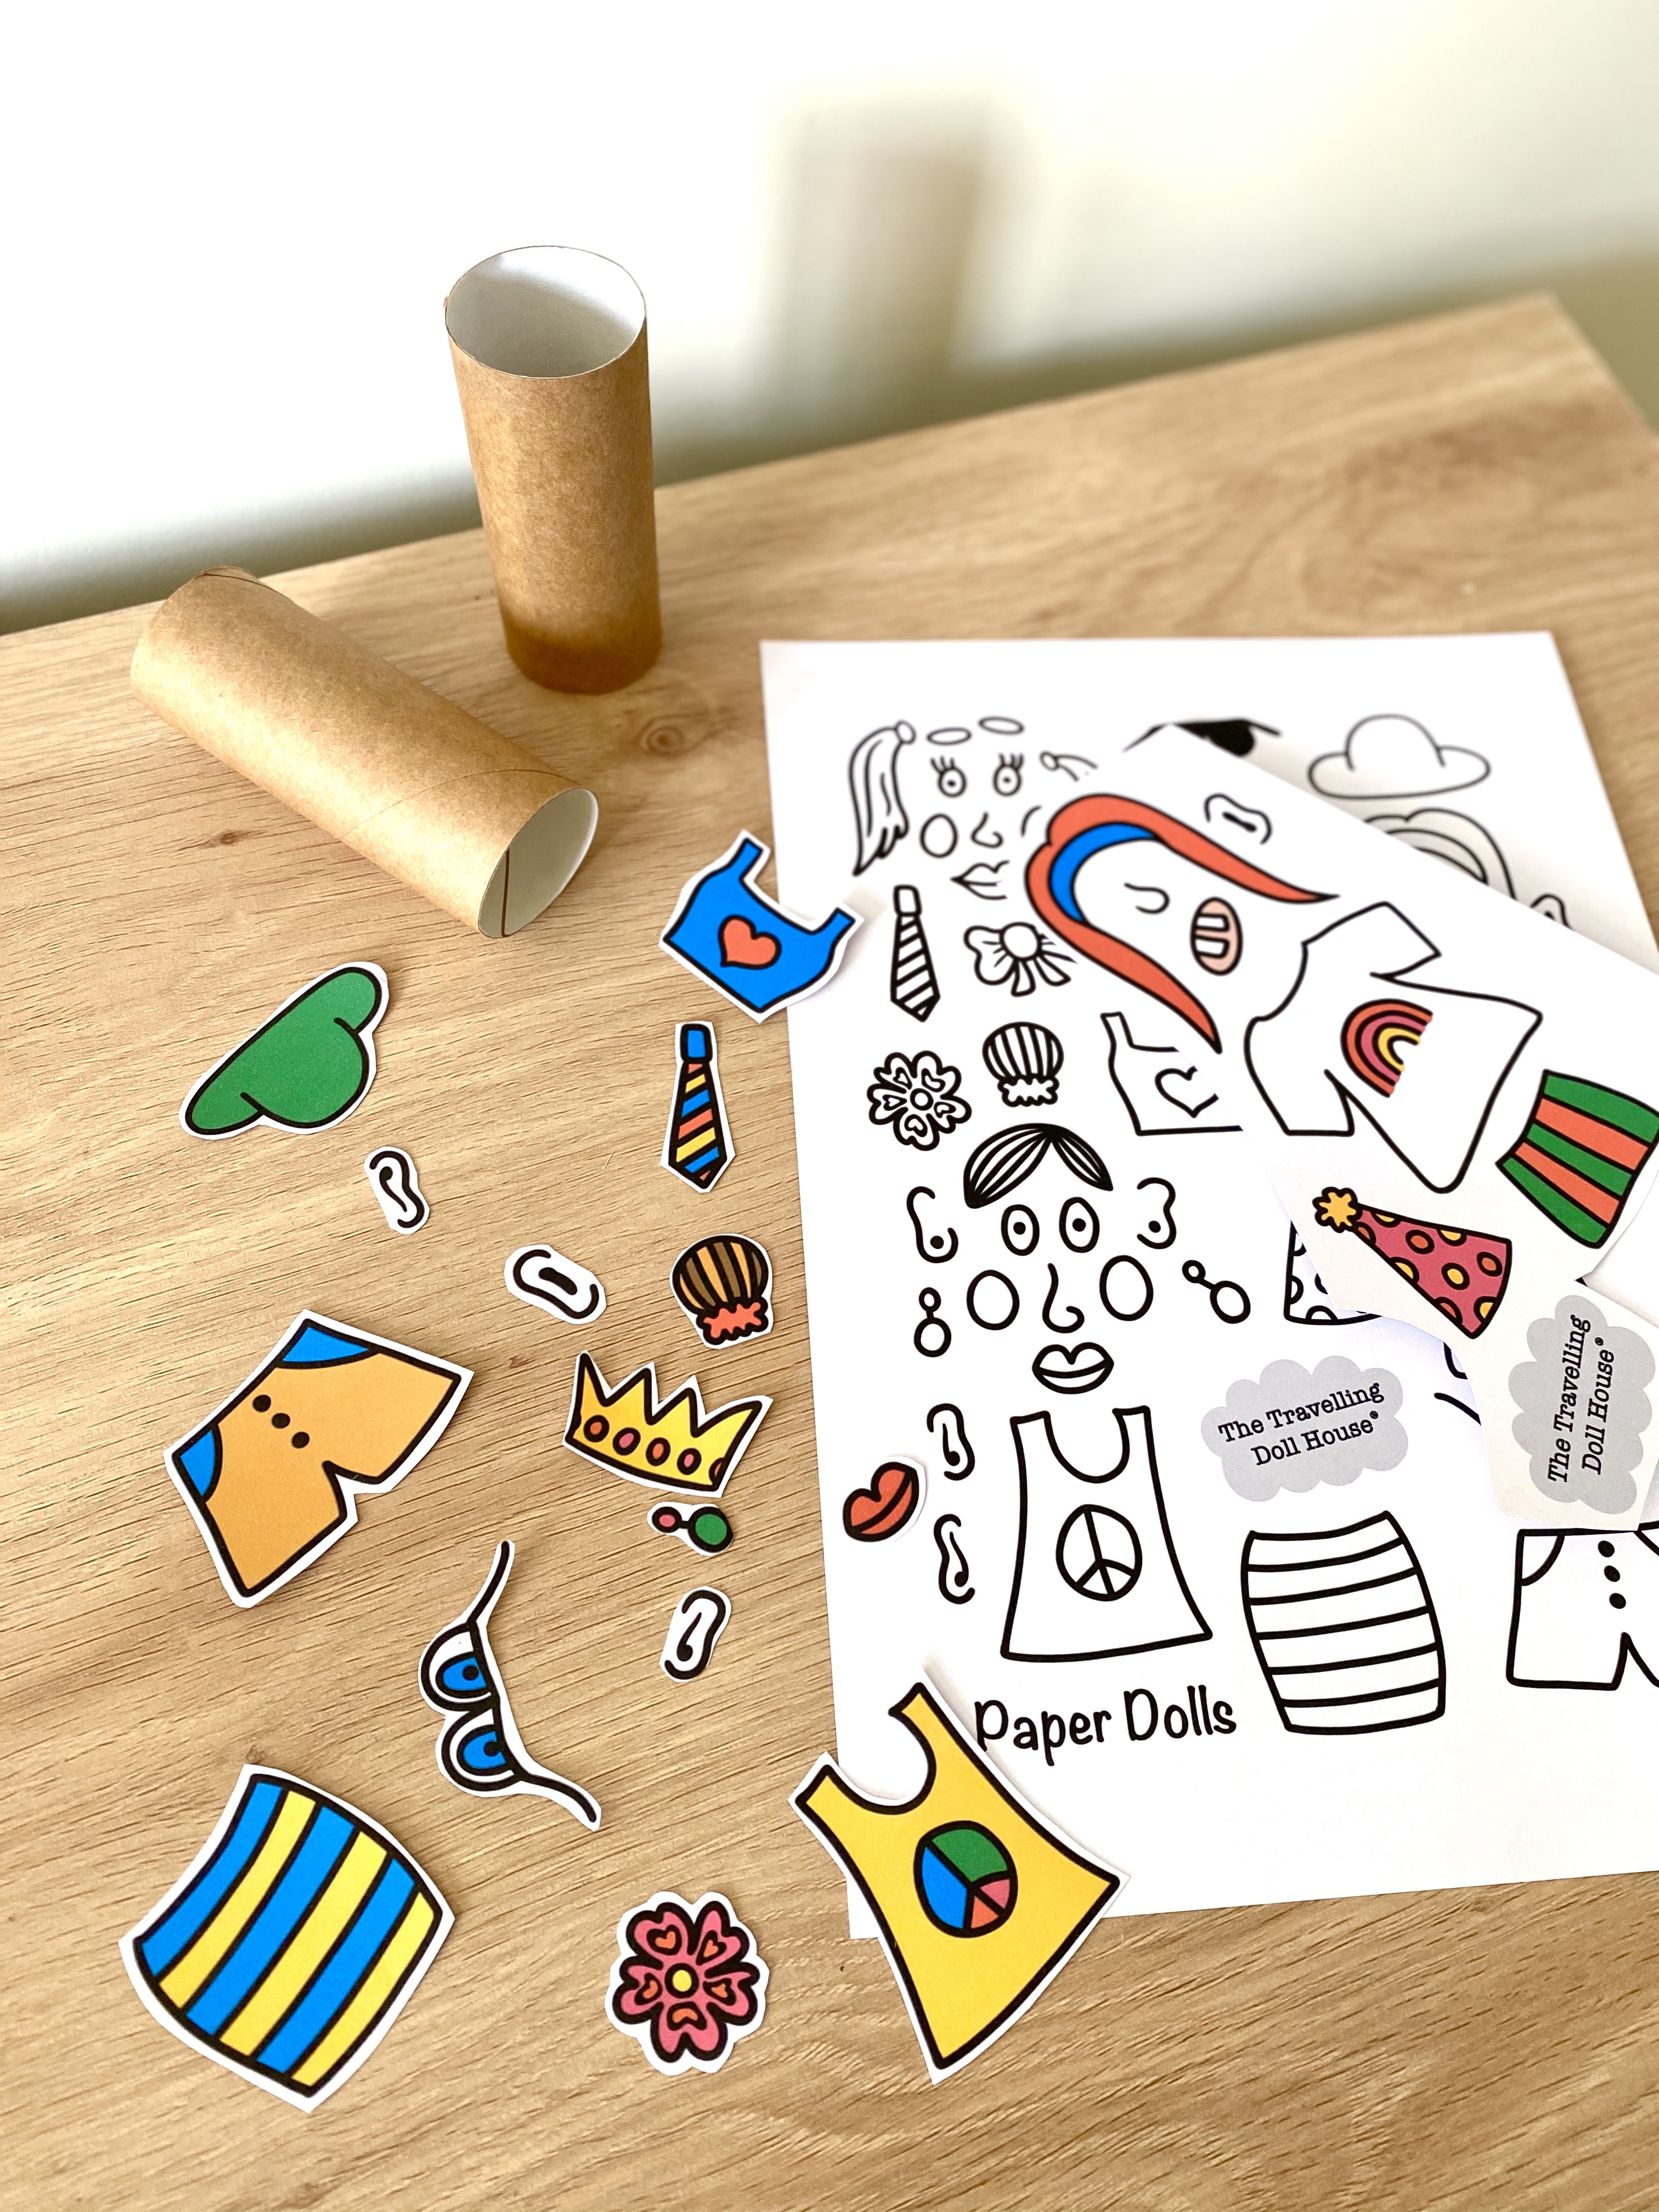
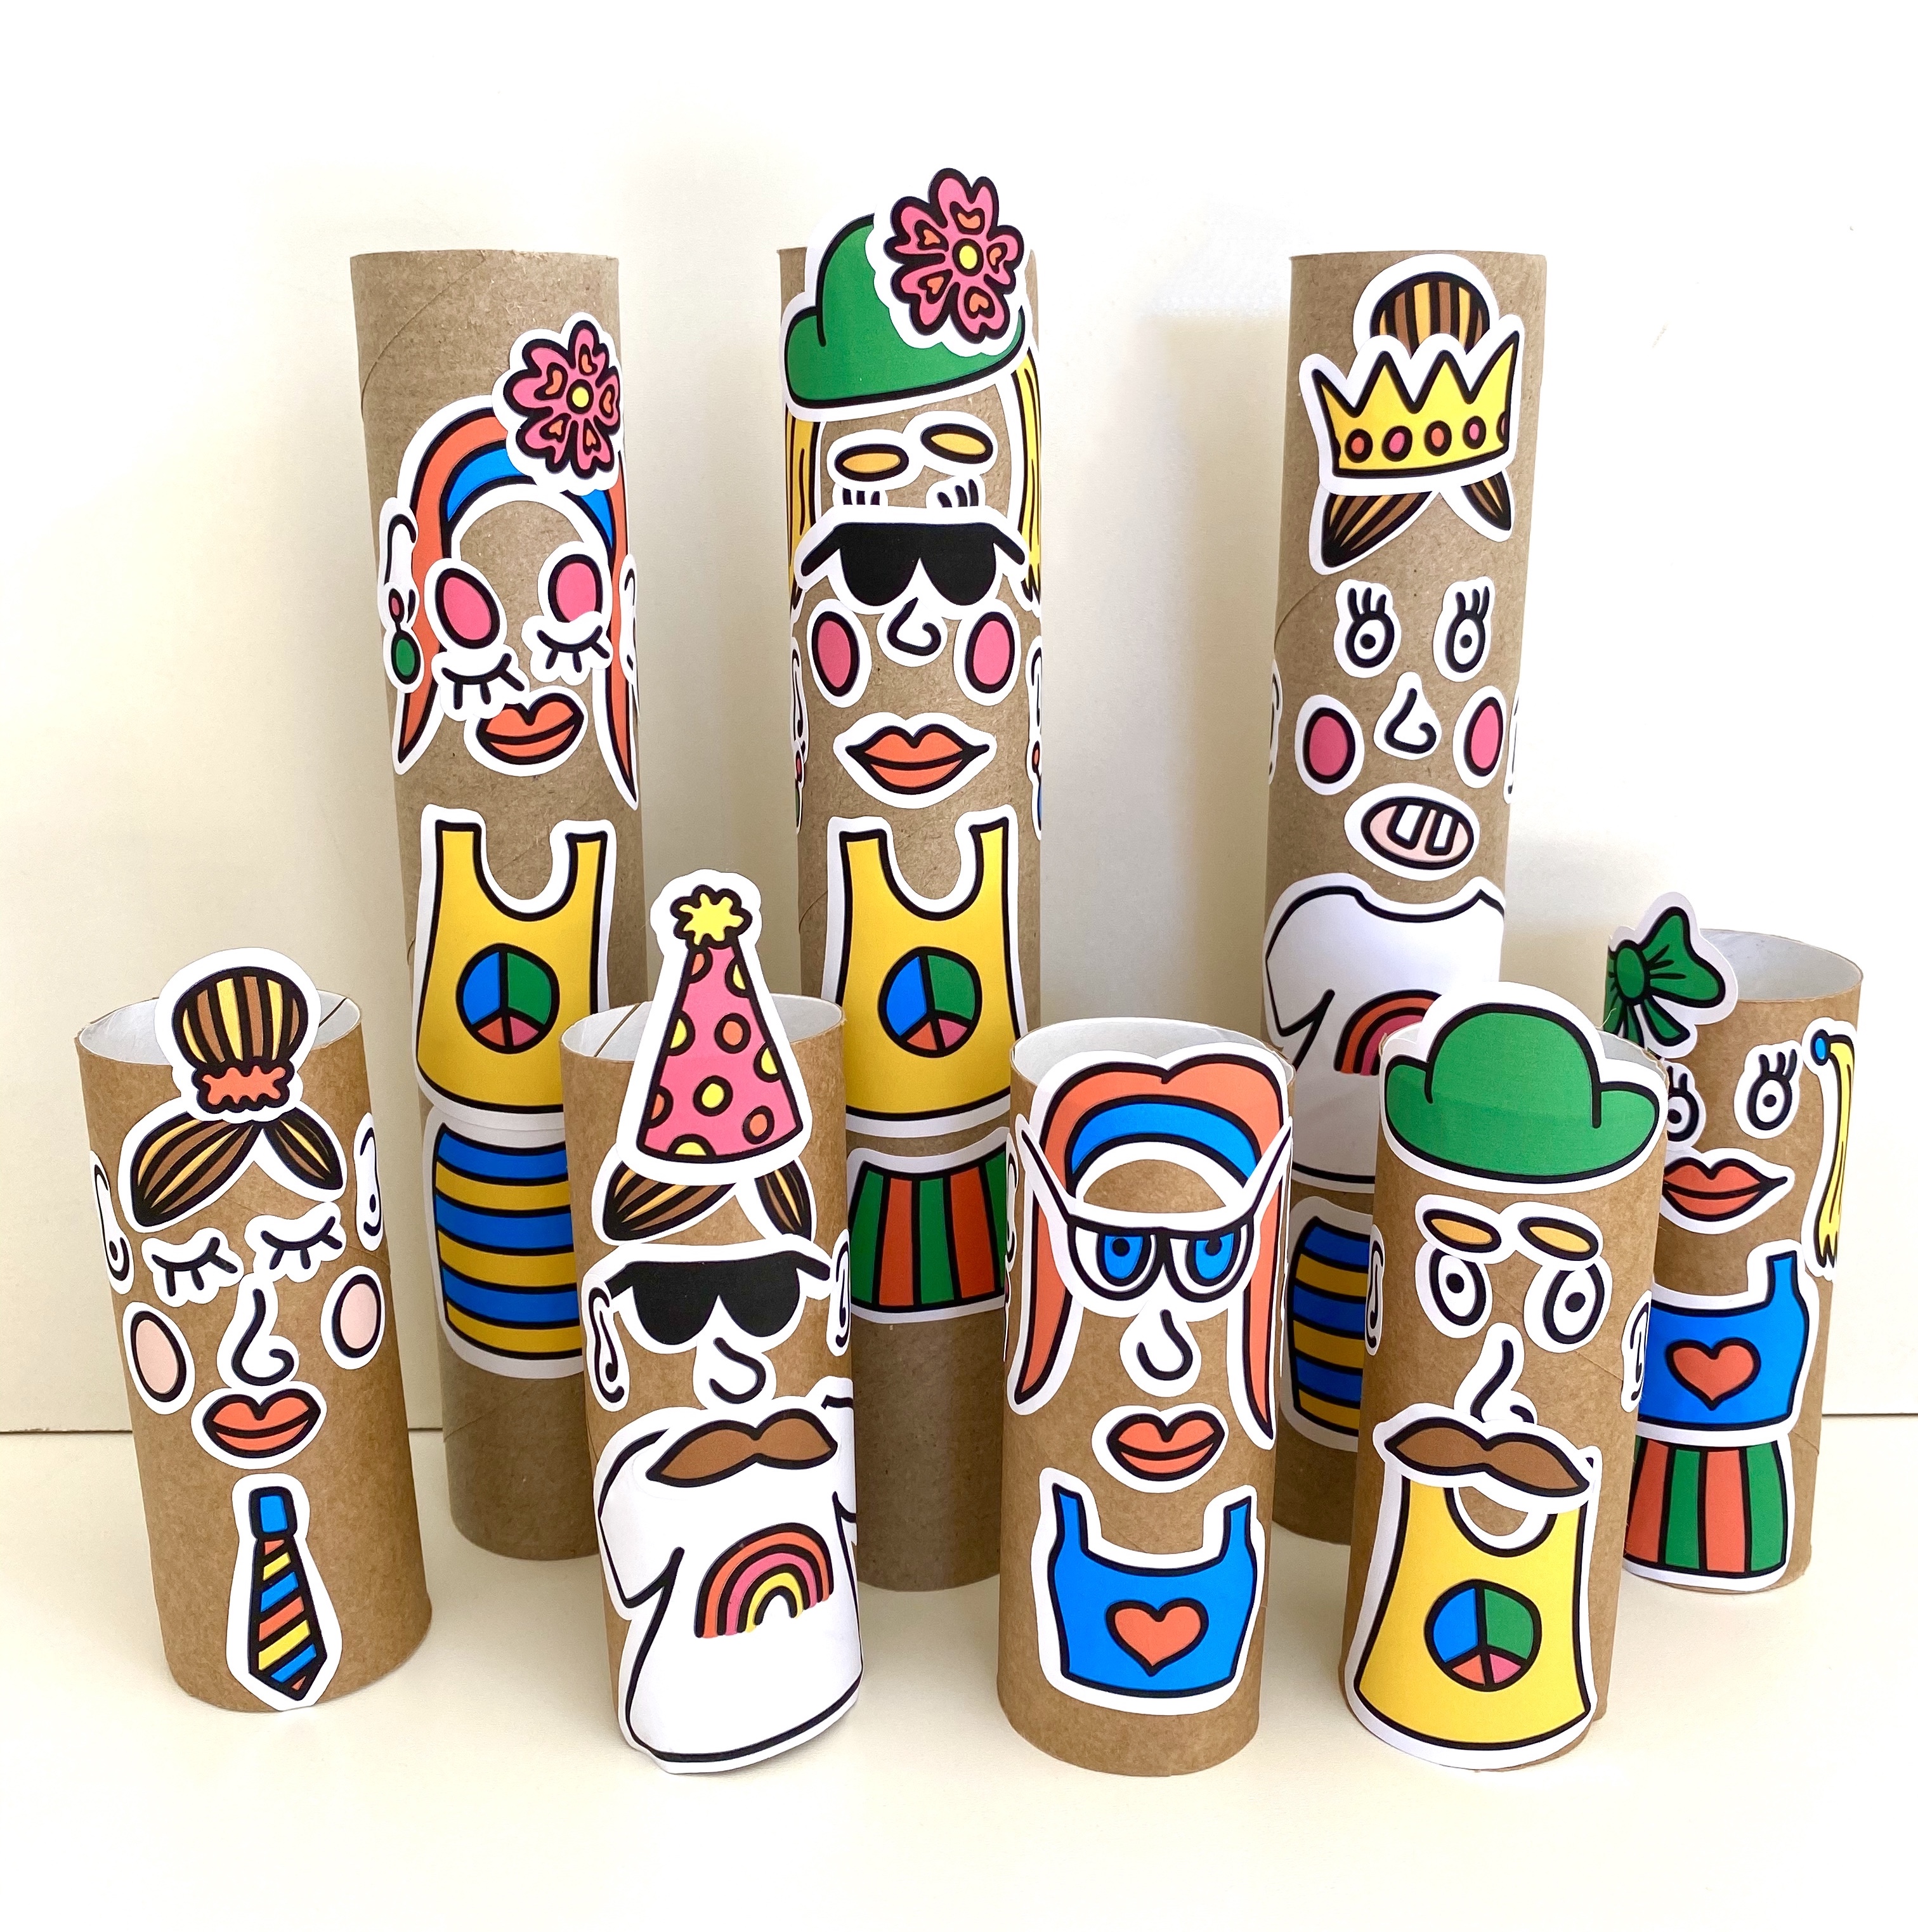
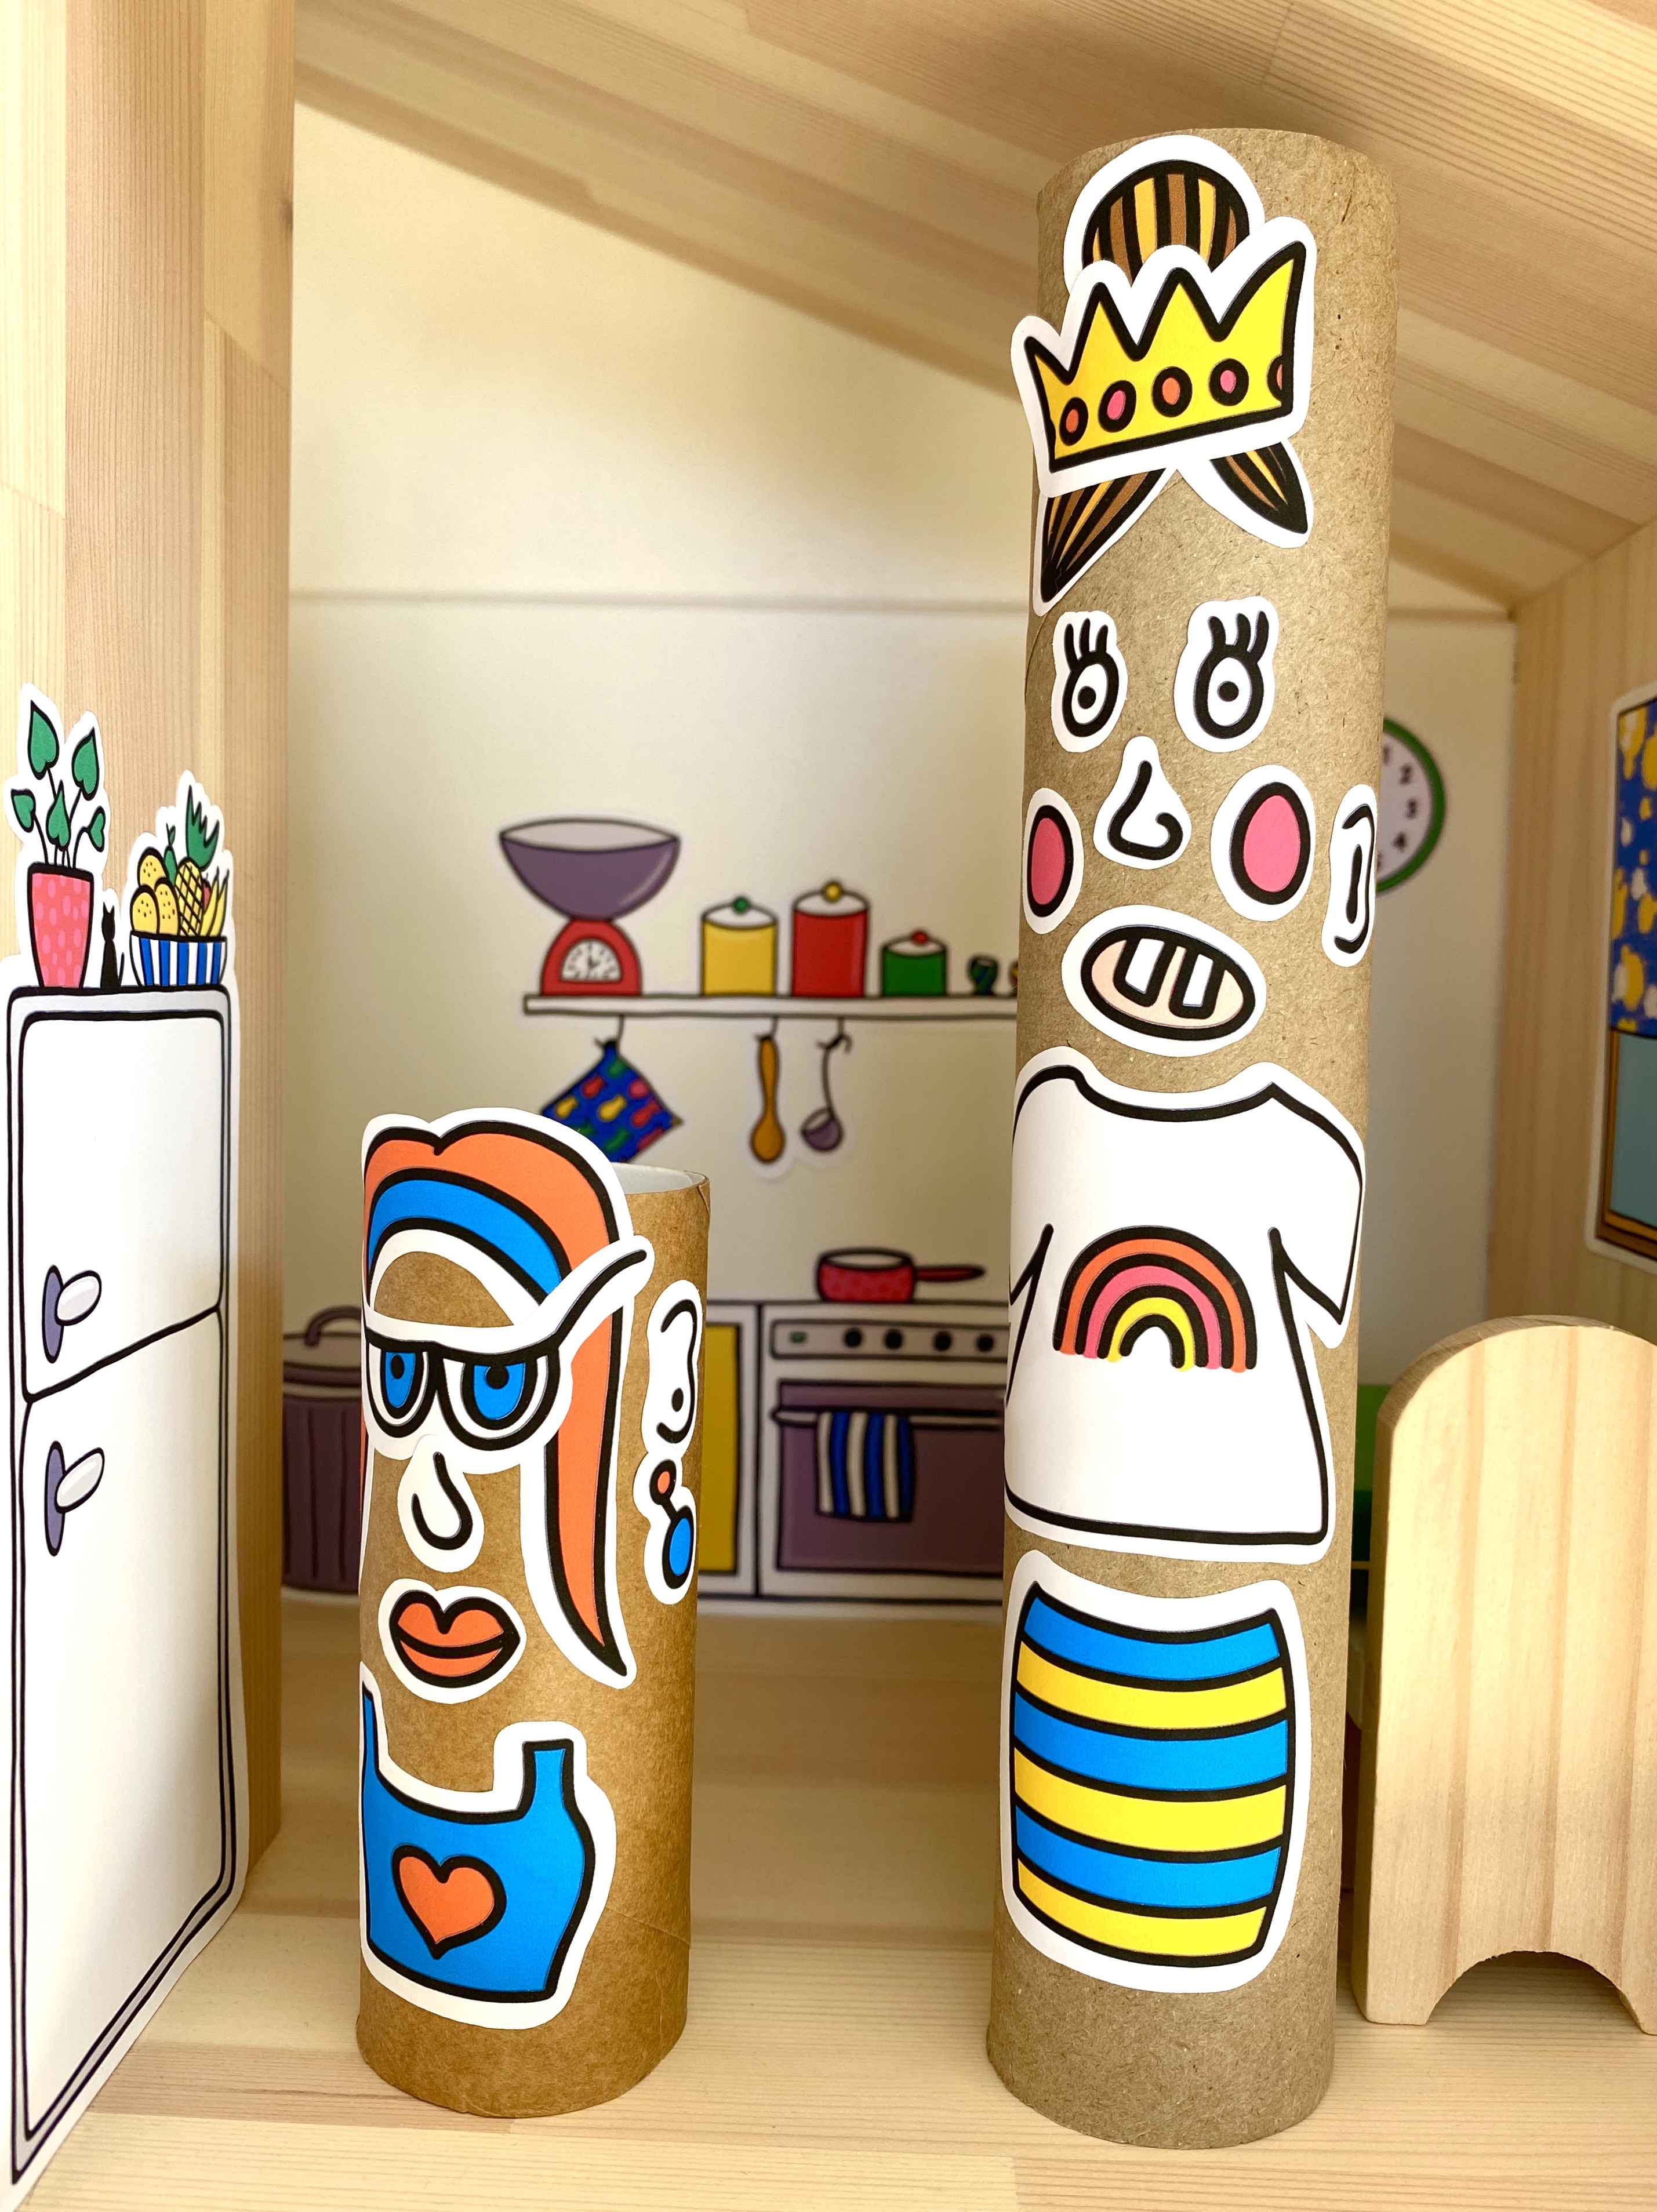
This is a very simple but fun activity to do at home with the kids to get into the Halloween spirit. Create your very own Halloween paper dolls with cardboard tubes and stickers! Cardboard tubes from toilet paper or paper towel rolls are a classic craft time staple in almost every household. And with lots of people at home now I’m sure large quantities of toilet paper rolls will be generated :). Print as many sheets as you would like, cut the stickers out by using scissors or a craft knife and stick them on a toilet or paper towel cardboard tube! The stickers work best on a paper towel roll (size wise), but you could also attach two toilet paper rolls together with sticky tape. If you don’t have any printable sticker paper at home, normal (A4) paper works fine too. Just cut the images out by using scissors or a craft knife and stick them on with glue. 

The Halloween paper dolls are inspired by Wednesday from The Addams Family, ‘The Room on the Broom’ witch (by Julia Donaldson & Alex Scheffler), and vampires :)! Happy crafting!!

PS: Please note that these stickers are intended for personal use only. Colours may vary depending on computer calibration and printer types.

DIY Barbie Dollhouse Makeover

As some of you might know I love a diy/upcycling project. Breathing new life in something old instead of chucking it away. A few years ago we found this old barbie dollhouse on the side of the road. It needed a few repairs and a good clean, but overall it was in a good state. So we took it home and fixed it. My daughter liked to play with it, but her dollhouse was always a gigantic mess, like a toy bomb went off in there. I also thought that the wallpaper and the flooring in the barbie dollhouse was a little bit outdated. So I’ve been wanting to do something with it for a while.  A few months ago I finally decided to give this project a go (with permission from my daughter), with the idea that I would give her the upcycled dollhouse for her birthday.

The first thing I did was remove all the wallpaper. This was a hell of a job to be honest :). With a spray bottle I wet all the wallpaper and after the paper was a bit soaked, I would scrape it all off. This took ages. Luckily on one rainy day the whole family decided to help me out, which definitely sped up the process (and made it also way more fun). 

Helping hands.

After all the wallpaper was removed, I started painting the dollhouse. I’ve put a primer on first, and after that I applied two layers of (waterproof) paint (Porter’s Paint, Popcorn Matte). I didn’t bother painting the floors, as I was planning to use adhesive vinyl for that. 

When all the paint was on, I updated the floors with adhesive vinyl (from Kmart Australia). This was pretty tricky, but it made the dollhouse look so much nicer!
Lastly I painted the roof Flamingo pink (also Porter’s Paint), since my daughter loves bright colours (pink most of all).

After that I stuck the wallpaper on the walls with double sided tape. The wallpaper is from Meinlilapark and I printed it out on A3 paper sheets. 

Finally, I added some of my dollhouse stickers from my shop The Travelling Doll House to the dollhouse to complete the look. One of the ideas behind using these dollhouse stickers is that the dollhouse stickers can replace some dollhouse furniture and miniatures, making it more spacious and less prone to mess. I was pretty excited to find out that it actually works in practice :). My daughter’s dollhouse has never been messy since the makeover. She told me herself that she likes to keep it pretty :). Another thing that I like is that the furniture and miniatures that we did keep in the dollhouse or added later, stands out so much more. I sometimes see photos of perfectly styled dollhouses full of stuff, which look amazing, but in reality will probably look like one big mess after one play session. I also feel that too much stuff is sometimes too overwhelming and distracting for kids, and instead of encouraging play, it seems to limit their play and their creativity (but I guess that’s the minimalist/hippie in me ;). 

Renovating this Barbie dollhouse was a big job and not for the faint hearted :), but it looks amazing in my daughter’s room and seeing how happy it makes her and how much joy she’ll get out of it in the next years, makes it totally worth it! 

DIY Paper Dolls With Toilet/Paper Towel Cardboard Rolls

Like lots of other households we’re doing lots of craft activities at home with the kids during this pandemic. The other day my 5 year old daughter wanted to make her own paper dolls which inspired this idea – ‘paper dolls made from cardboard tubes’.

IMG_1431

I drew various paper doll themed shapes on my iPad and printed them out on sticker paper. I then cut out the stickers and we stuck them on the paper rolls together.

IMG_1374Cardboard tubes from toilet paper rolls are a classic craft time staple in almost every household. With everyone at home now I’m sure large quantities of toilet paper rolls will be generated :). I love craft activities that involve everyday objects like this. It’s been a favourite in our household and it’s great to see what creations the kids come up with. Their imagination is so much more vivid than mine :). The paper doll toys are also low in cost and sustainable. The printable stickers for the DIY paper dolls are available in my Etsy shop.

Have fun!

IMG_1354


Free Printable Colouring Pages

Here are two colouring pages that I’ve made to download and print at home.

Click on the links below for the free pdf versions. Have fun!

Colouring Page Dinosaurs The Travelling Doll House


Dinosaurland_2

Colouring Page Kitchen The Travelling Doll House

Keuken_Kleurplaat

DIY Dinosaur Land In a Suitcase

Dinosaur land suitcases make great handmade gifts. They don’t take up a lot of space and are easy to transport. It’s the perfect toy for when you go travelling with little kids, or visit family or friends. 

IMG_5195

In this blog I will show you how you could make your own dinosaur land in a suitcase. To make your own dinosaur land suitcase there are 4 things you’ll need:

1. A little suitcase: My favourite shop for little suitcases is Sass & Belle. Sass & Belle sells the most adorable little suitcases and ships worldwide!

IMG_0775

2. Stickers: A very easy way to give your dinosaur land suitcase an instant jurassic look, is by adding these dinosaur land stickers from The Travelling Doll House. The dinosaur land stickers are available in my Etsy shop.

New Dinosaur Suitcase sticker sheets zonder logo

3. Dinosaurs: No dinosaur land suitcase is complete without dinosaurs!! Maybe your child already has a few dinosaurs that need a new home. Otherwise they can be purchased at almost every toy store. Kids love dinosaurs!!

IMG_1114 2

4. Rocks: This one is optional, but I would certainly recommend it. Definitely if you are making this dinosaur land suitcase for a little boy. It’s a great (and free!) addition to your suitcase, as little boys love playing with rocks. Maybe you have some lying around in your own backyard or you can find some in your neighbourhood. We seem to acquire more every time my son has been out of the house :).