DIY Barbie Dollhouse Makeover

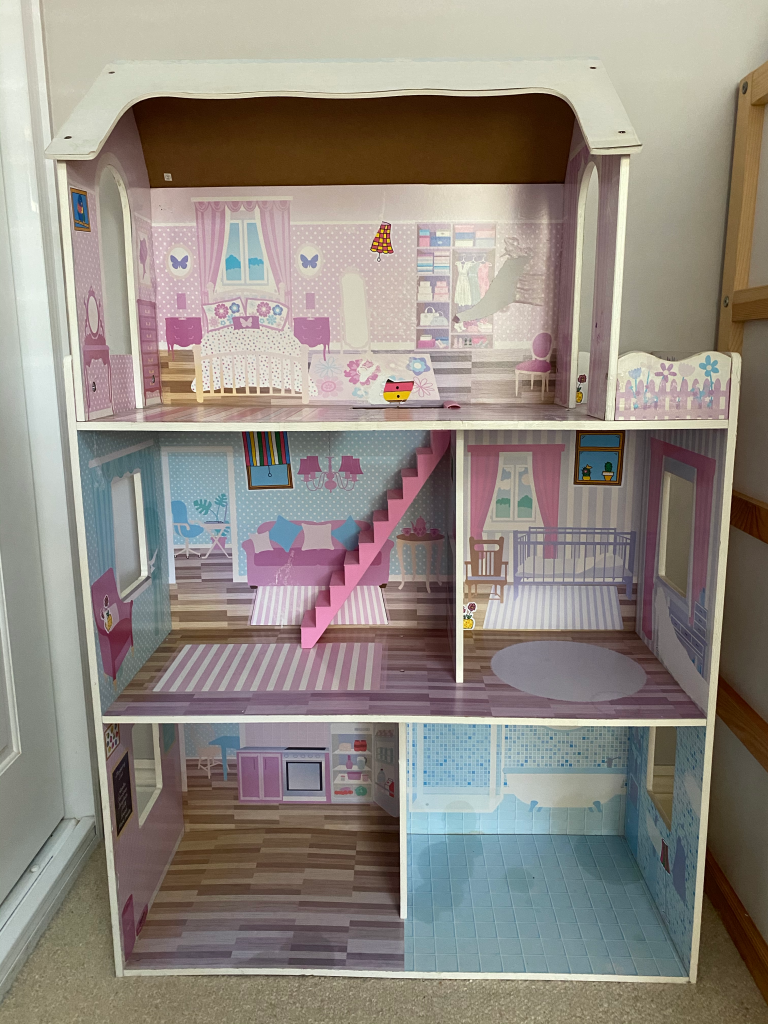
As some of you might know I love a diy/upcycling project. Breathing new life in something old instead of chucking it away. A few years ago we found this old barbie dollhouse on the side of the road. It needed a few repairs and a good clean, but overall it was in a good state. So we took it home and fixed it. My daughter liked to play with it, but her dollhouse was always a gigantic mess, like a toy bomb went off in there. I also thought that the wallpaper and the flooring in the barbie dollhouse was a little bit outdated. So I’ve been wanting to do something with it for a while.  A few months ago I finally decided to give this project a go (with permission from my daughter), with the idea that I would give her the upcycled dollhouse for her birthday.

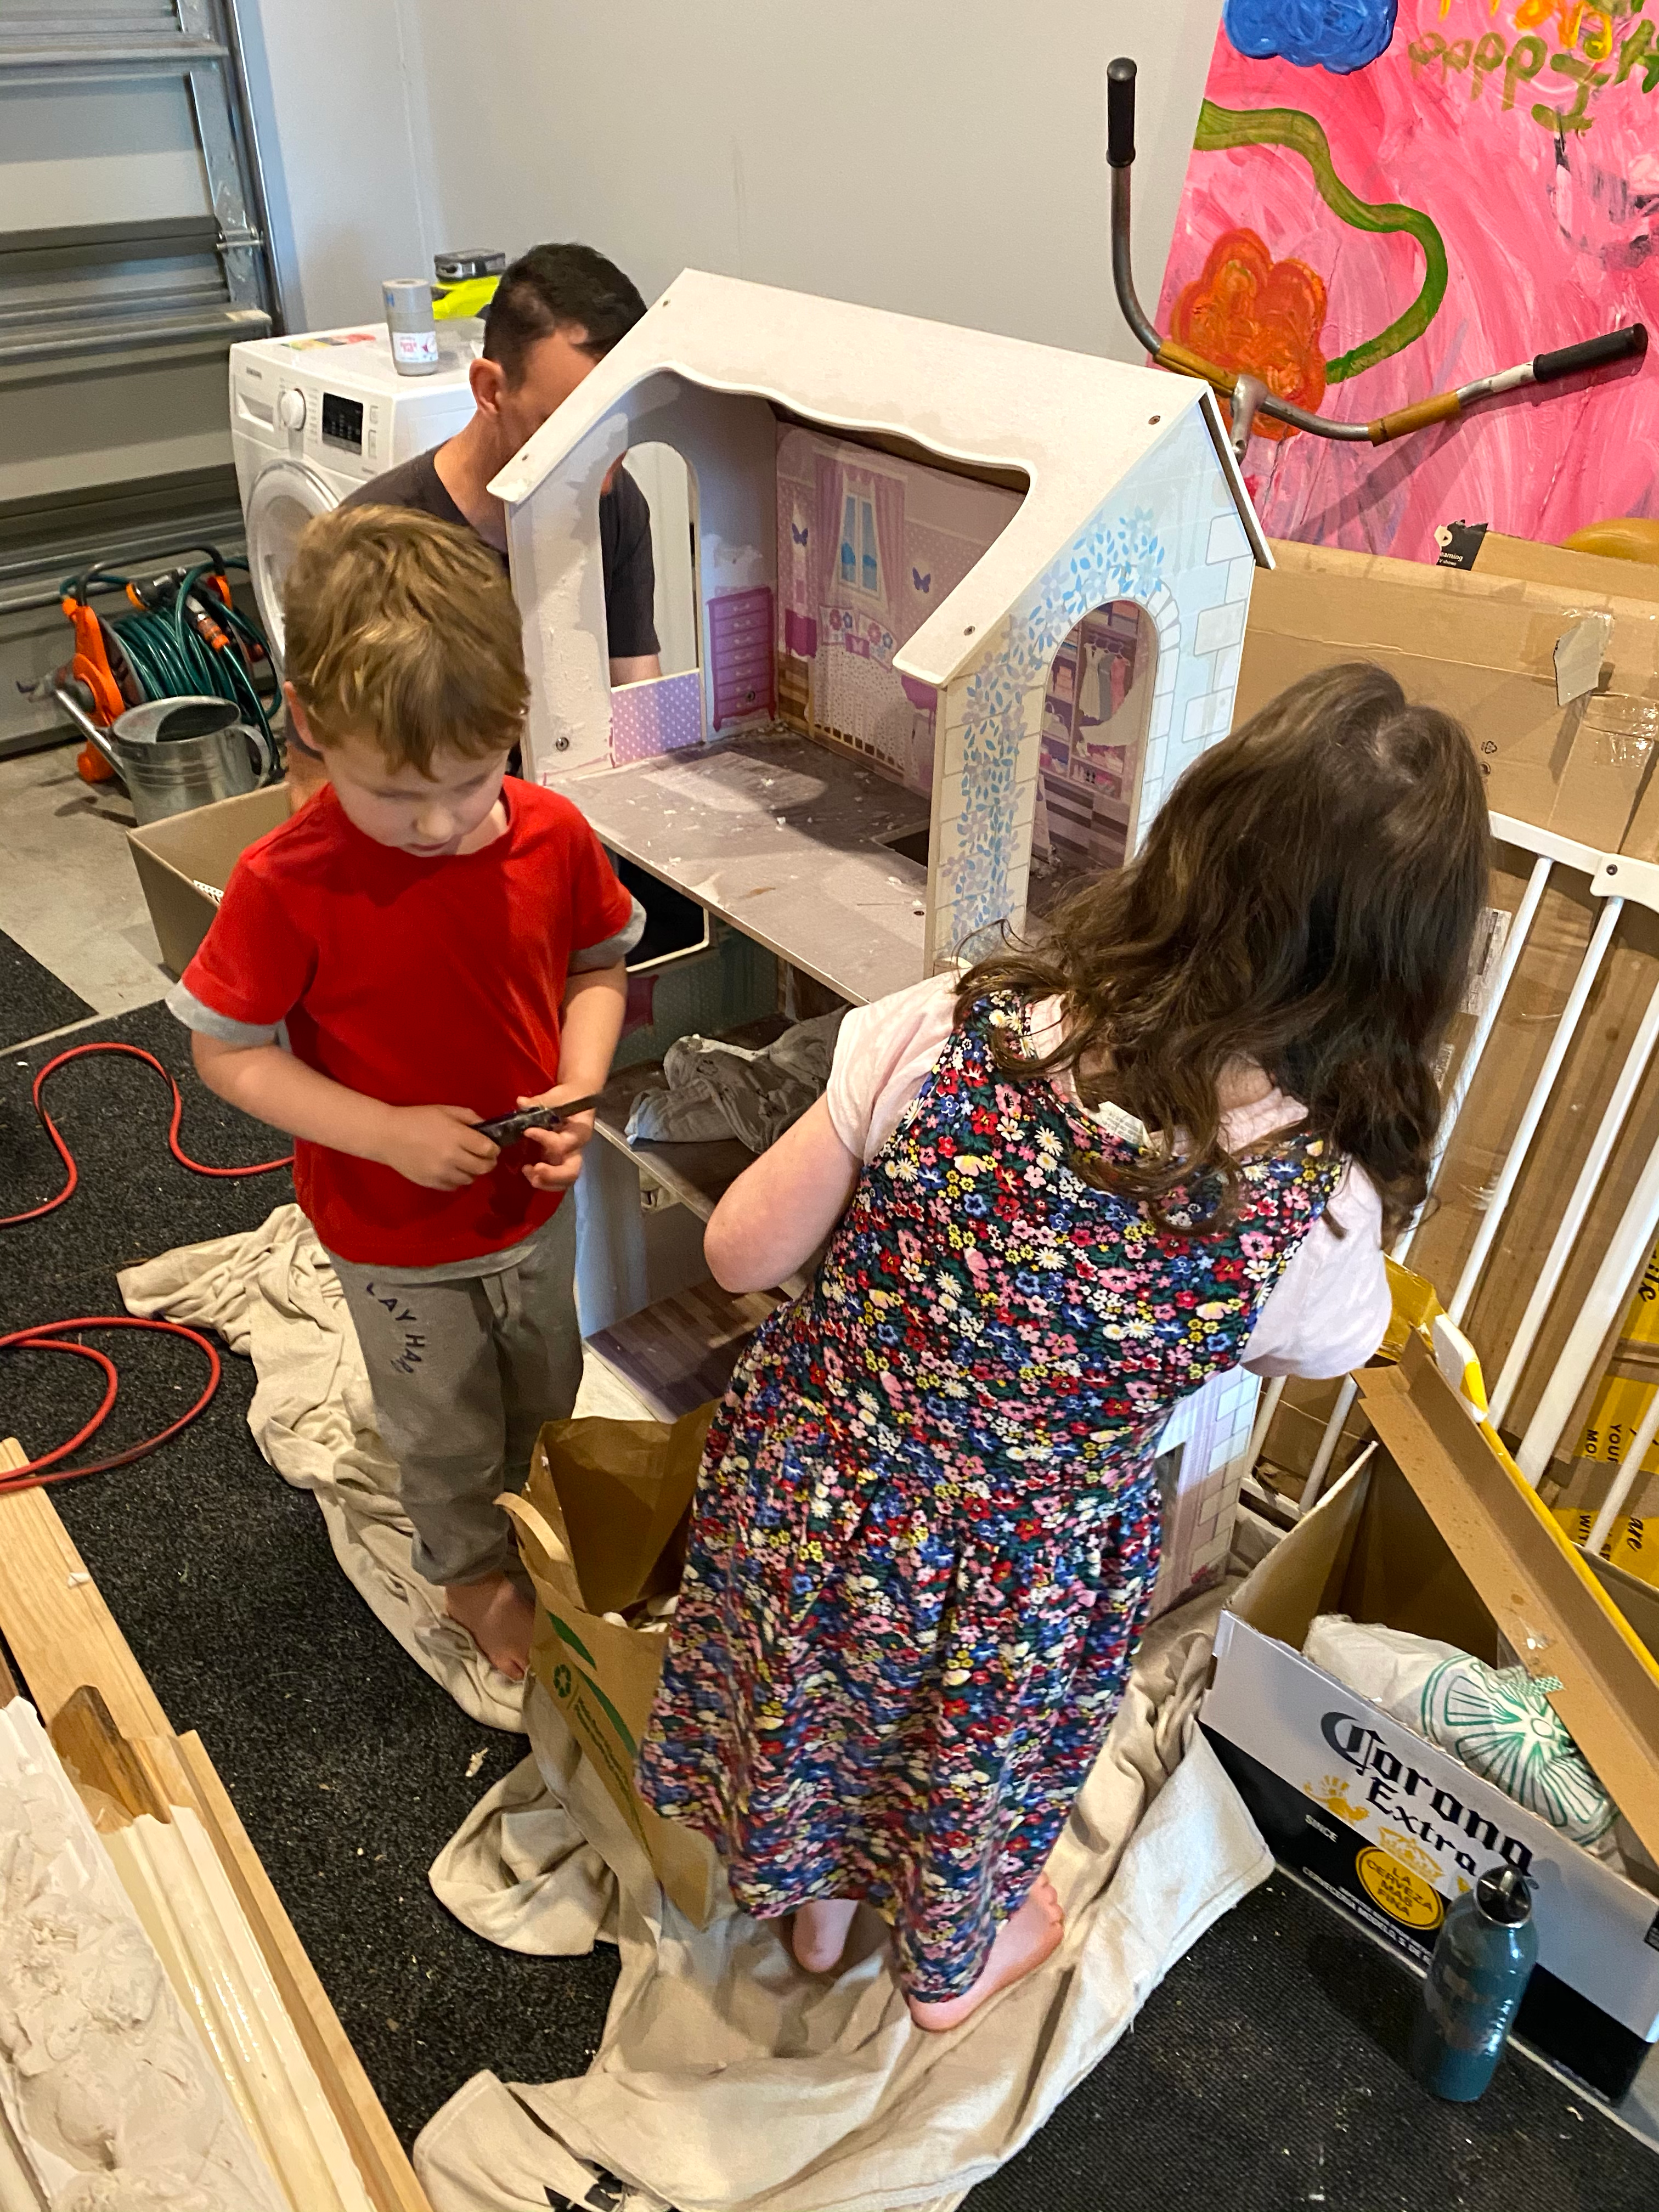
The first thing I did was remove all the wallpaper. This was a hell of a job to be honest :). With a spray bottle I wet all the wallpaper and after the paper was a bit soaked, I would scrape it all off. This took ages. Luckily on one rainy day the whole family decided to help me out, which definitely sped up the process (and made it also way more fun). 

Helping hands.

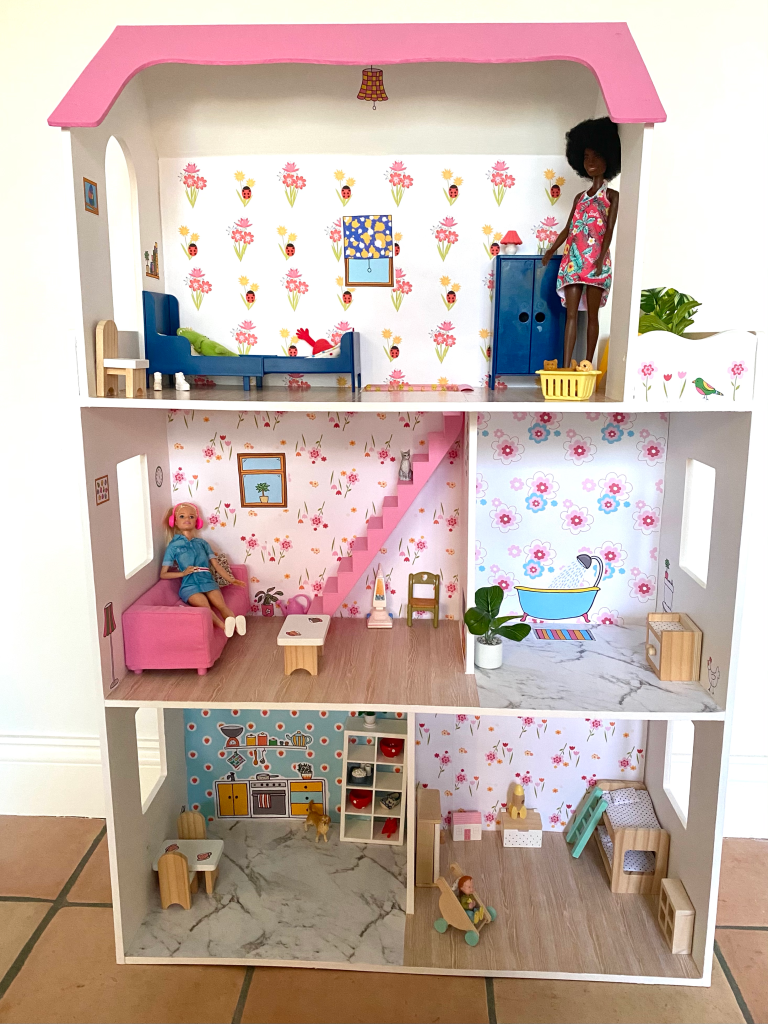
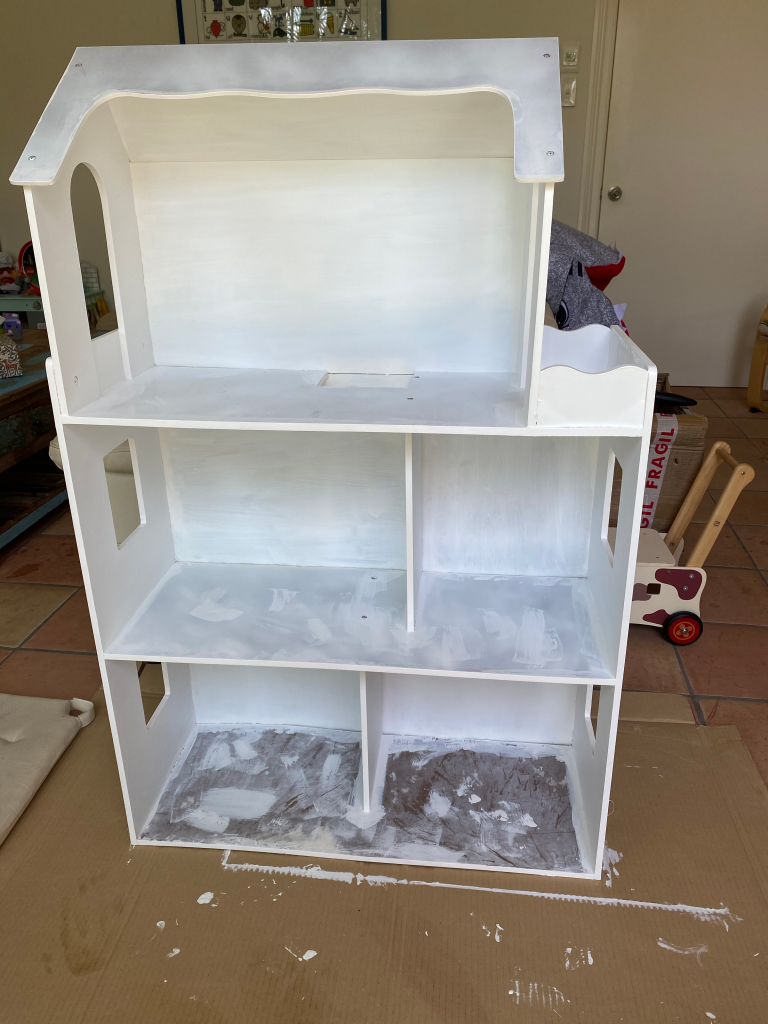
After all the wallpaper was removed, I started painting the dollhouse. I’ve put a primer on first, and after that I applied two layers of (waterproof) paint (Porter’s Paint, Popcorn Matte). I didn’t bother painting the floors, as I was planning to use adhesive vinyl for that. 

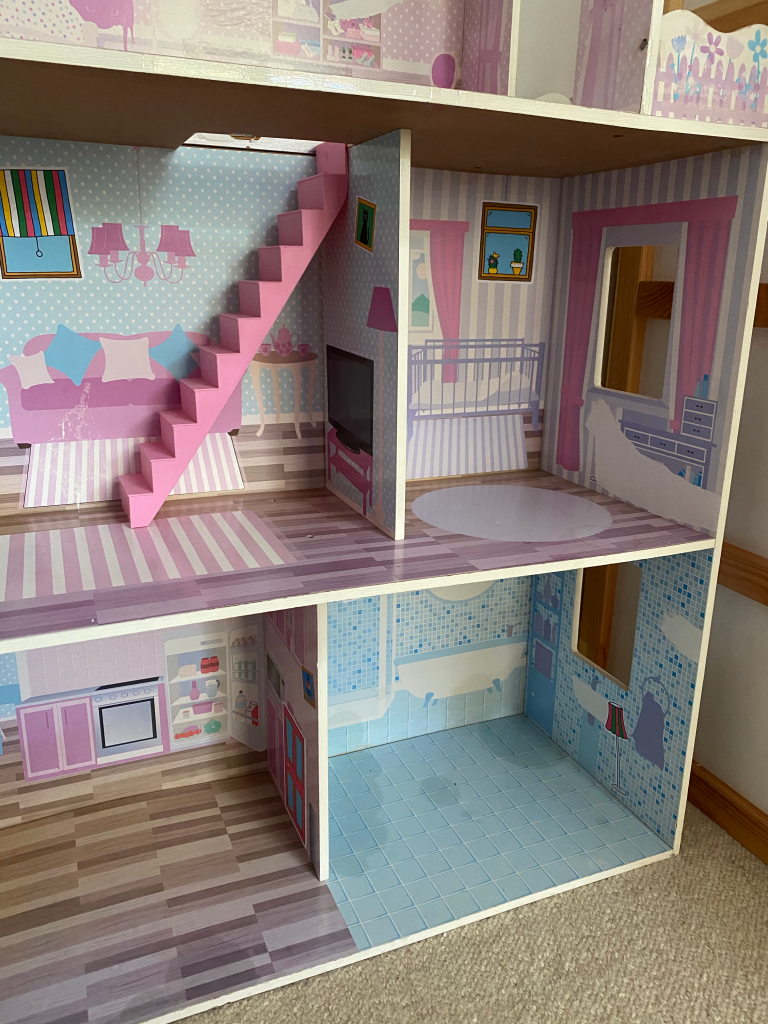
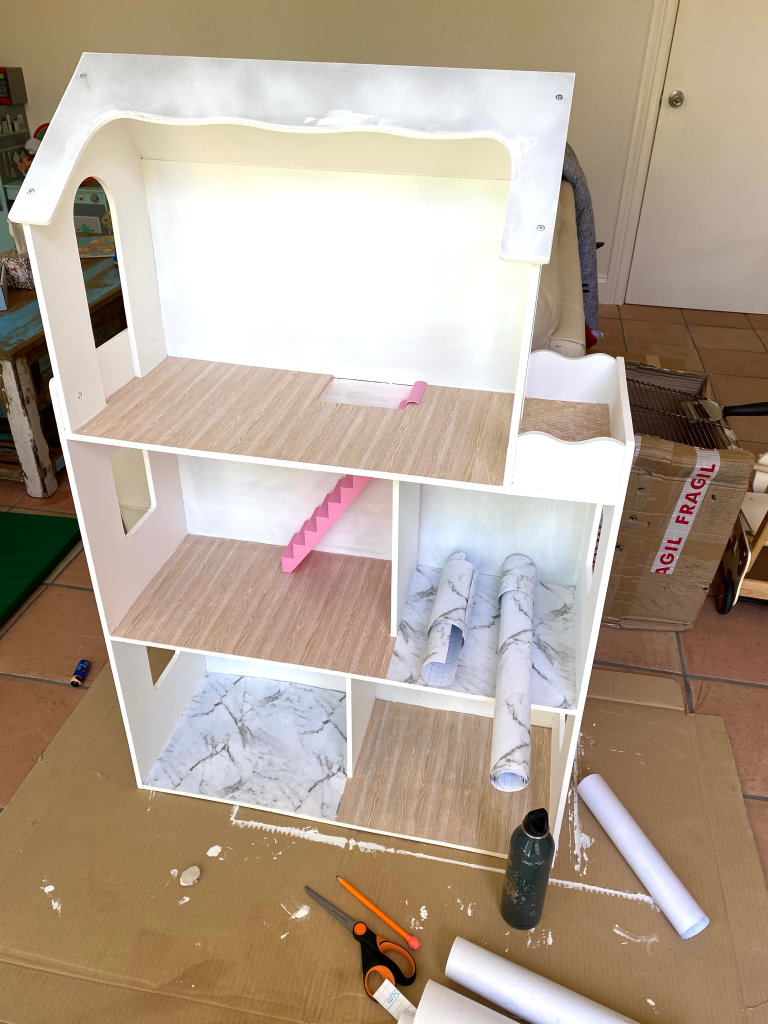
When all the paint was on, I updated the floors with adhesive vinyl (from Kmart Australia). This was pretty tricky, but it made the dollhouse look so much nicer!
Lastly I painted the roof Flamingo pink (also Porter’s Paint), since my daughter loves bright colours (pink most of all).

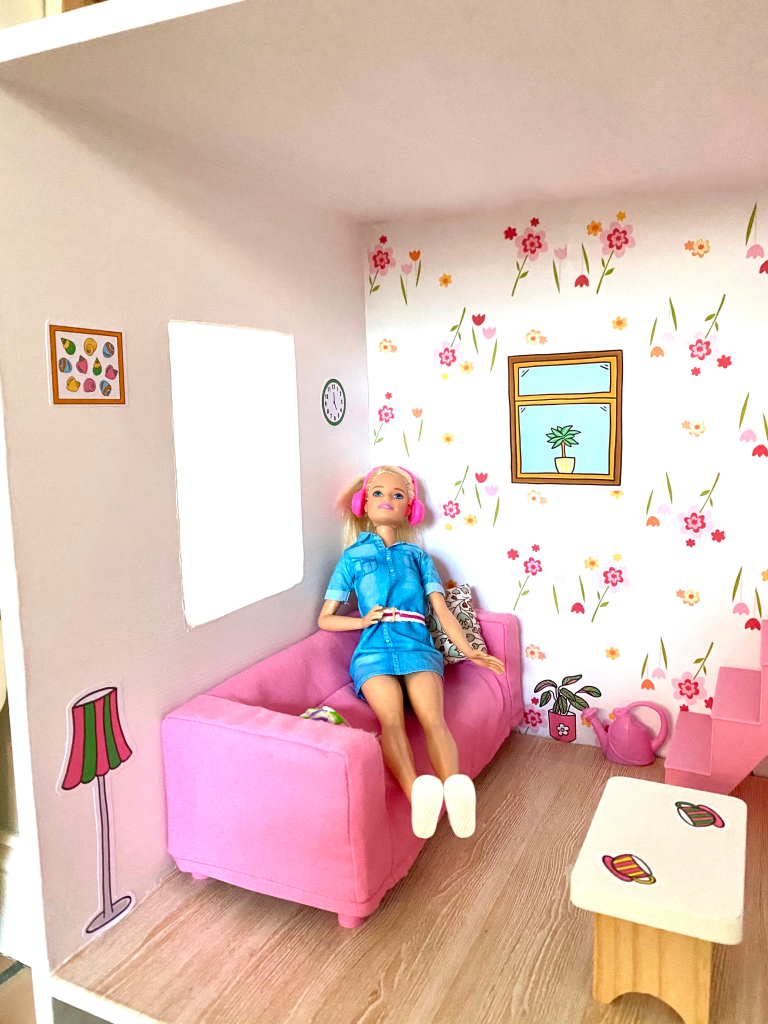
After that I stuck the wallpaper on the walls with double sided tape. The wallpaper is from Meinlilapark and I printed it out on A3 paper sheets. 

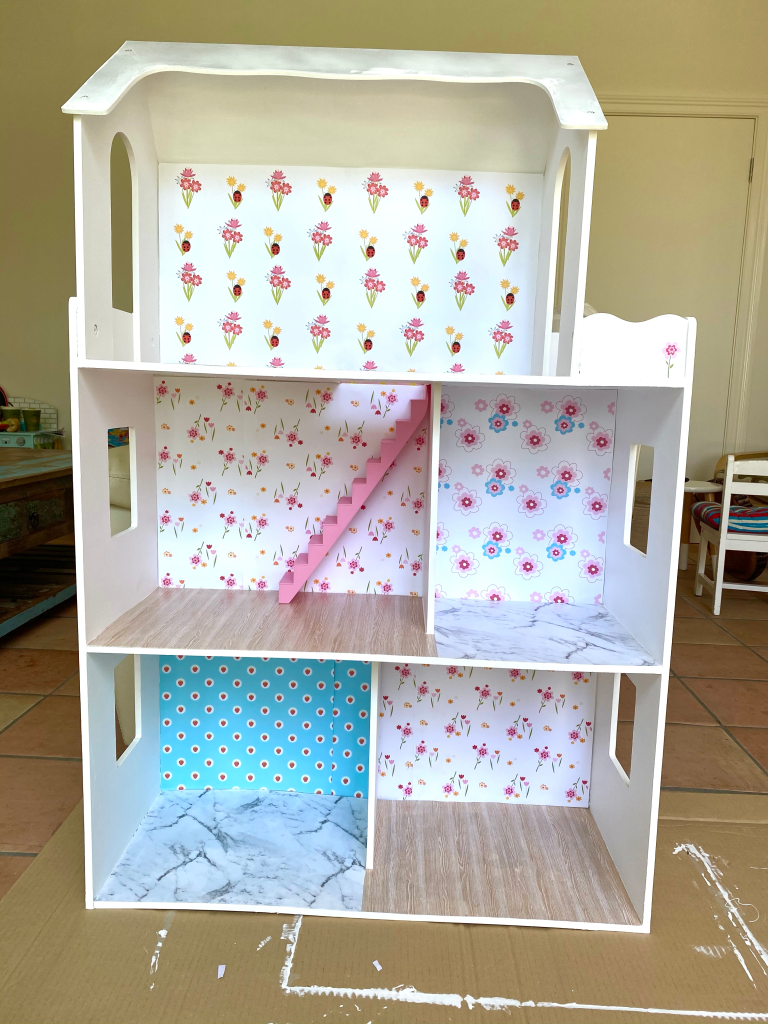
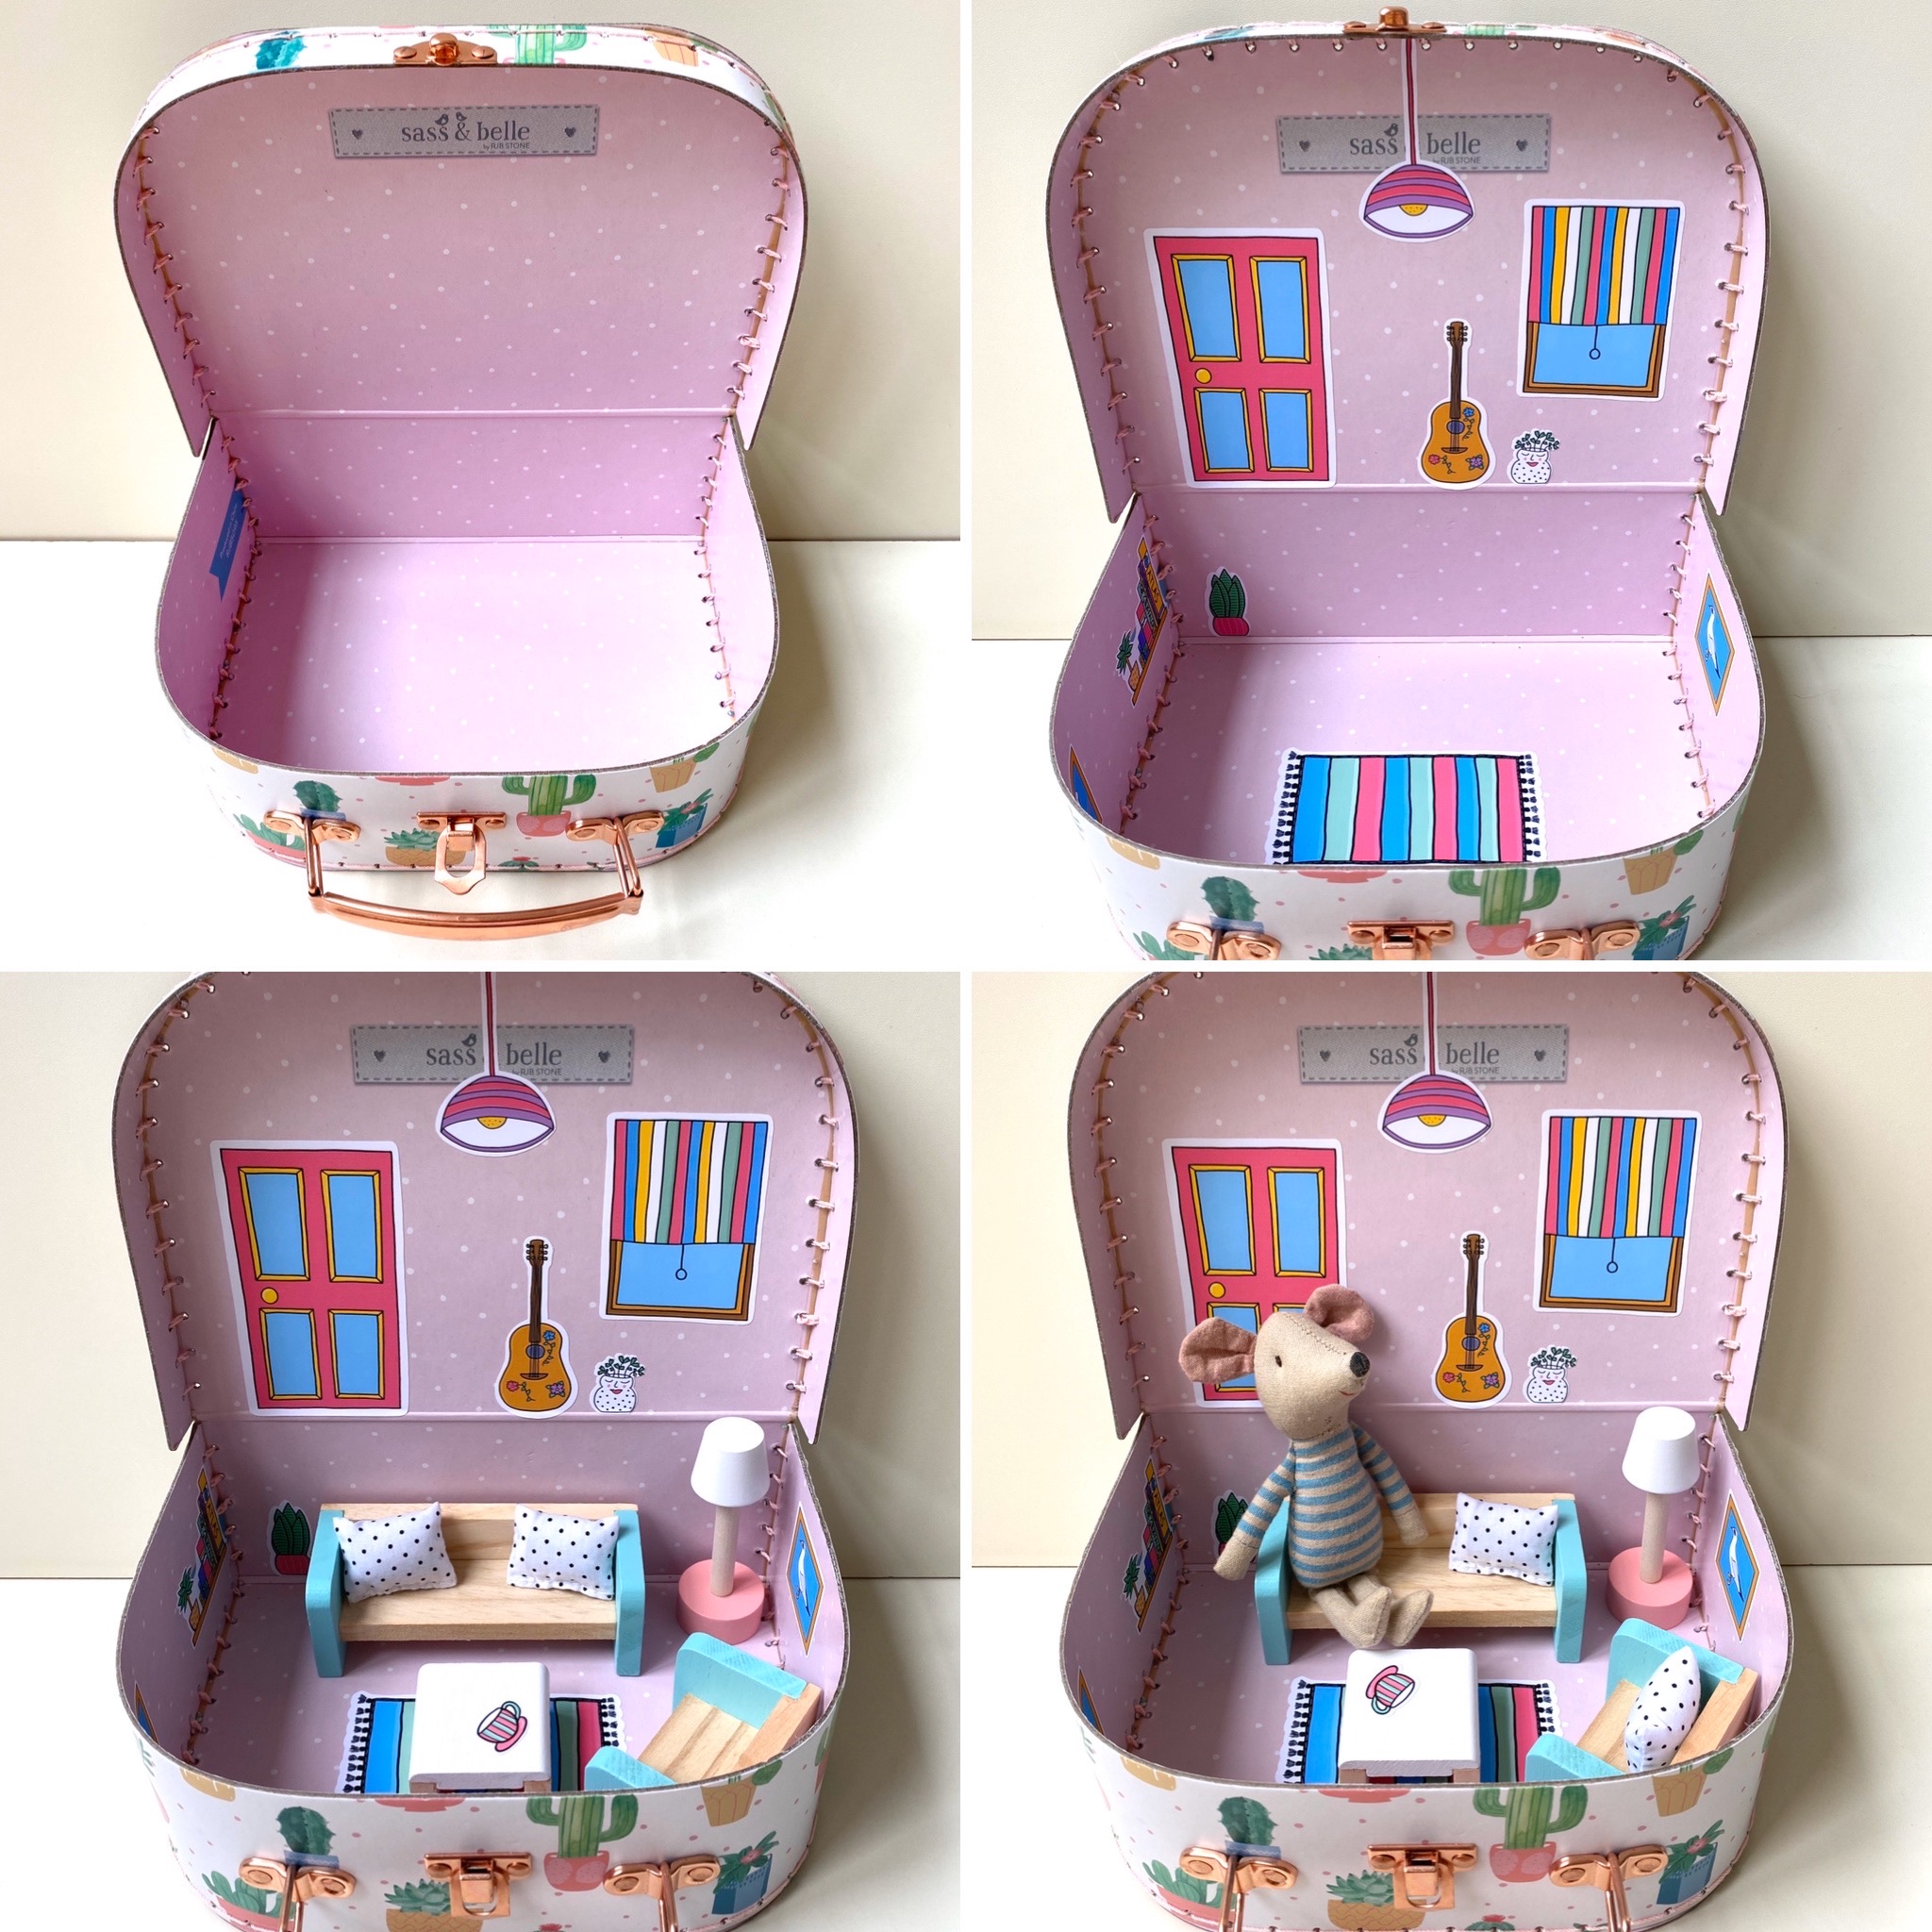
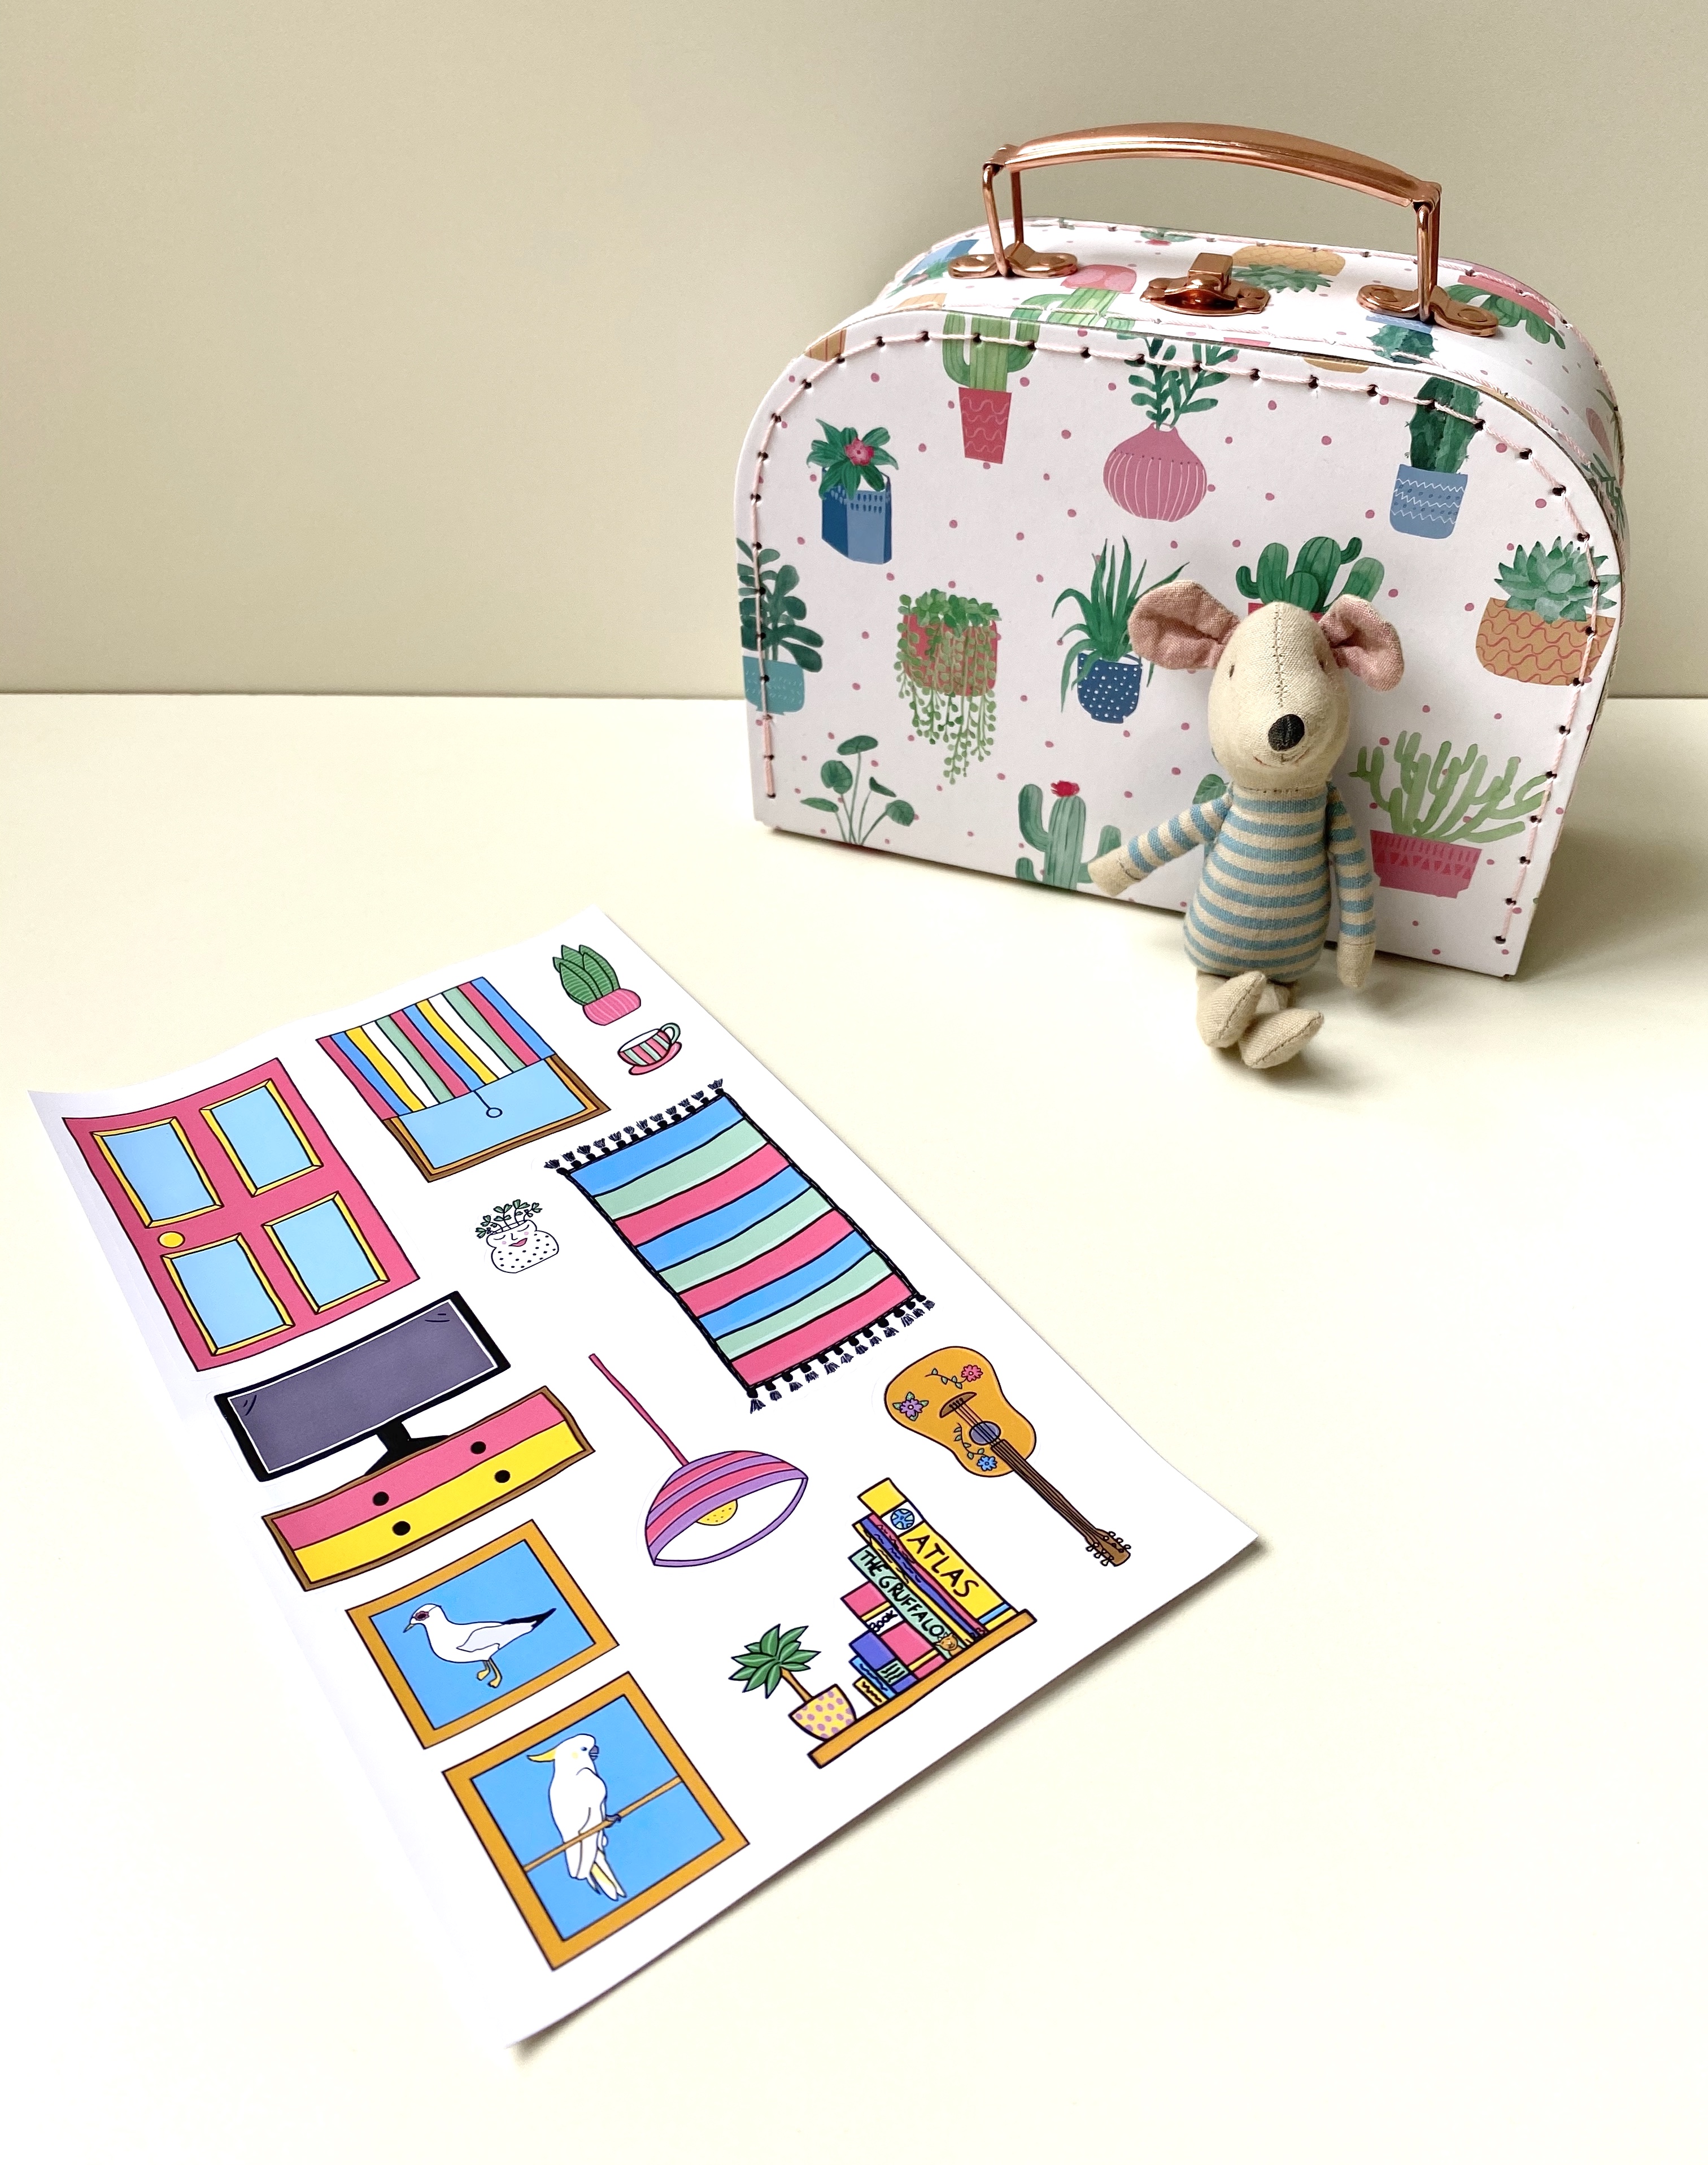
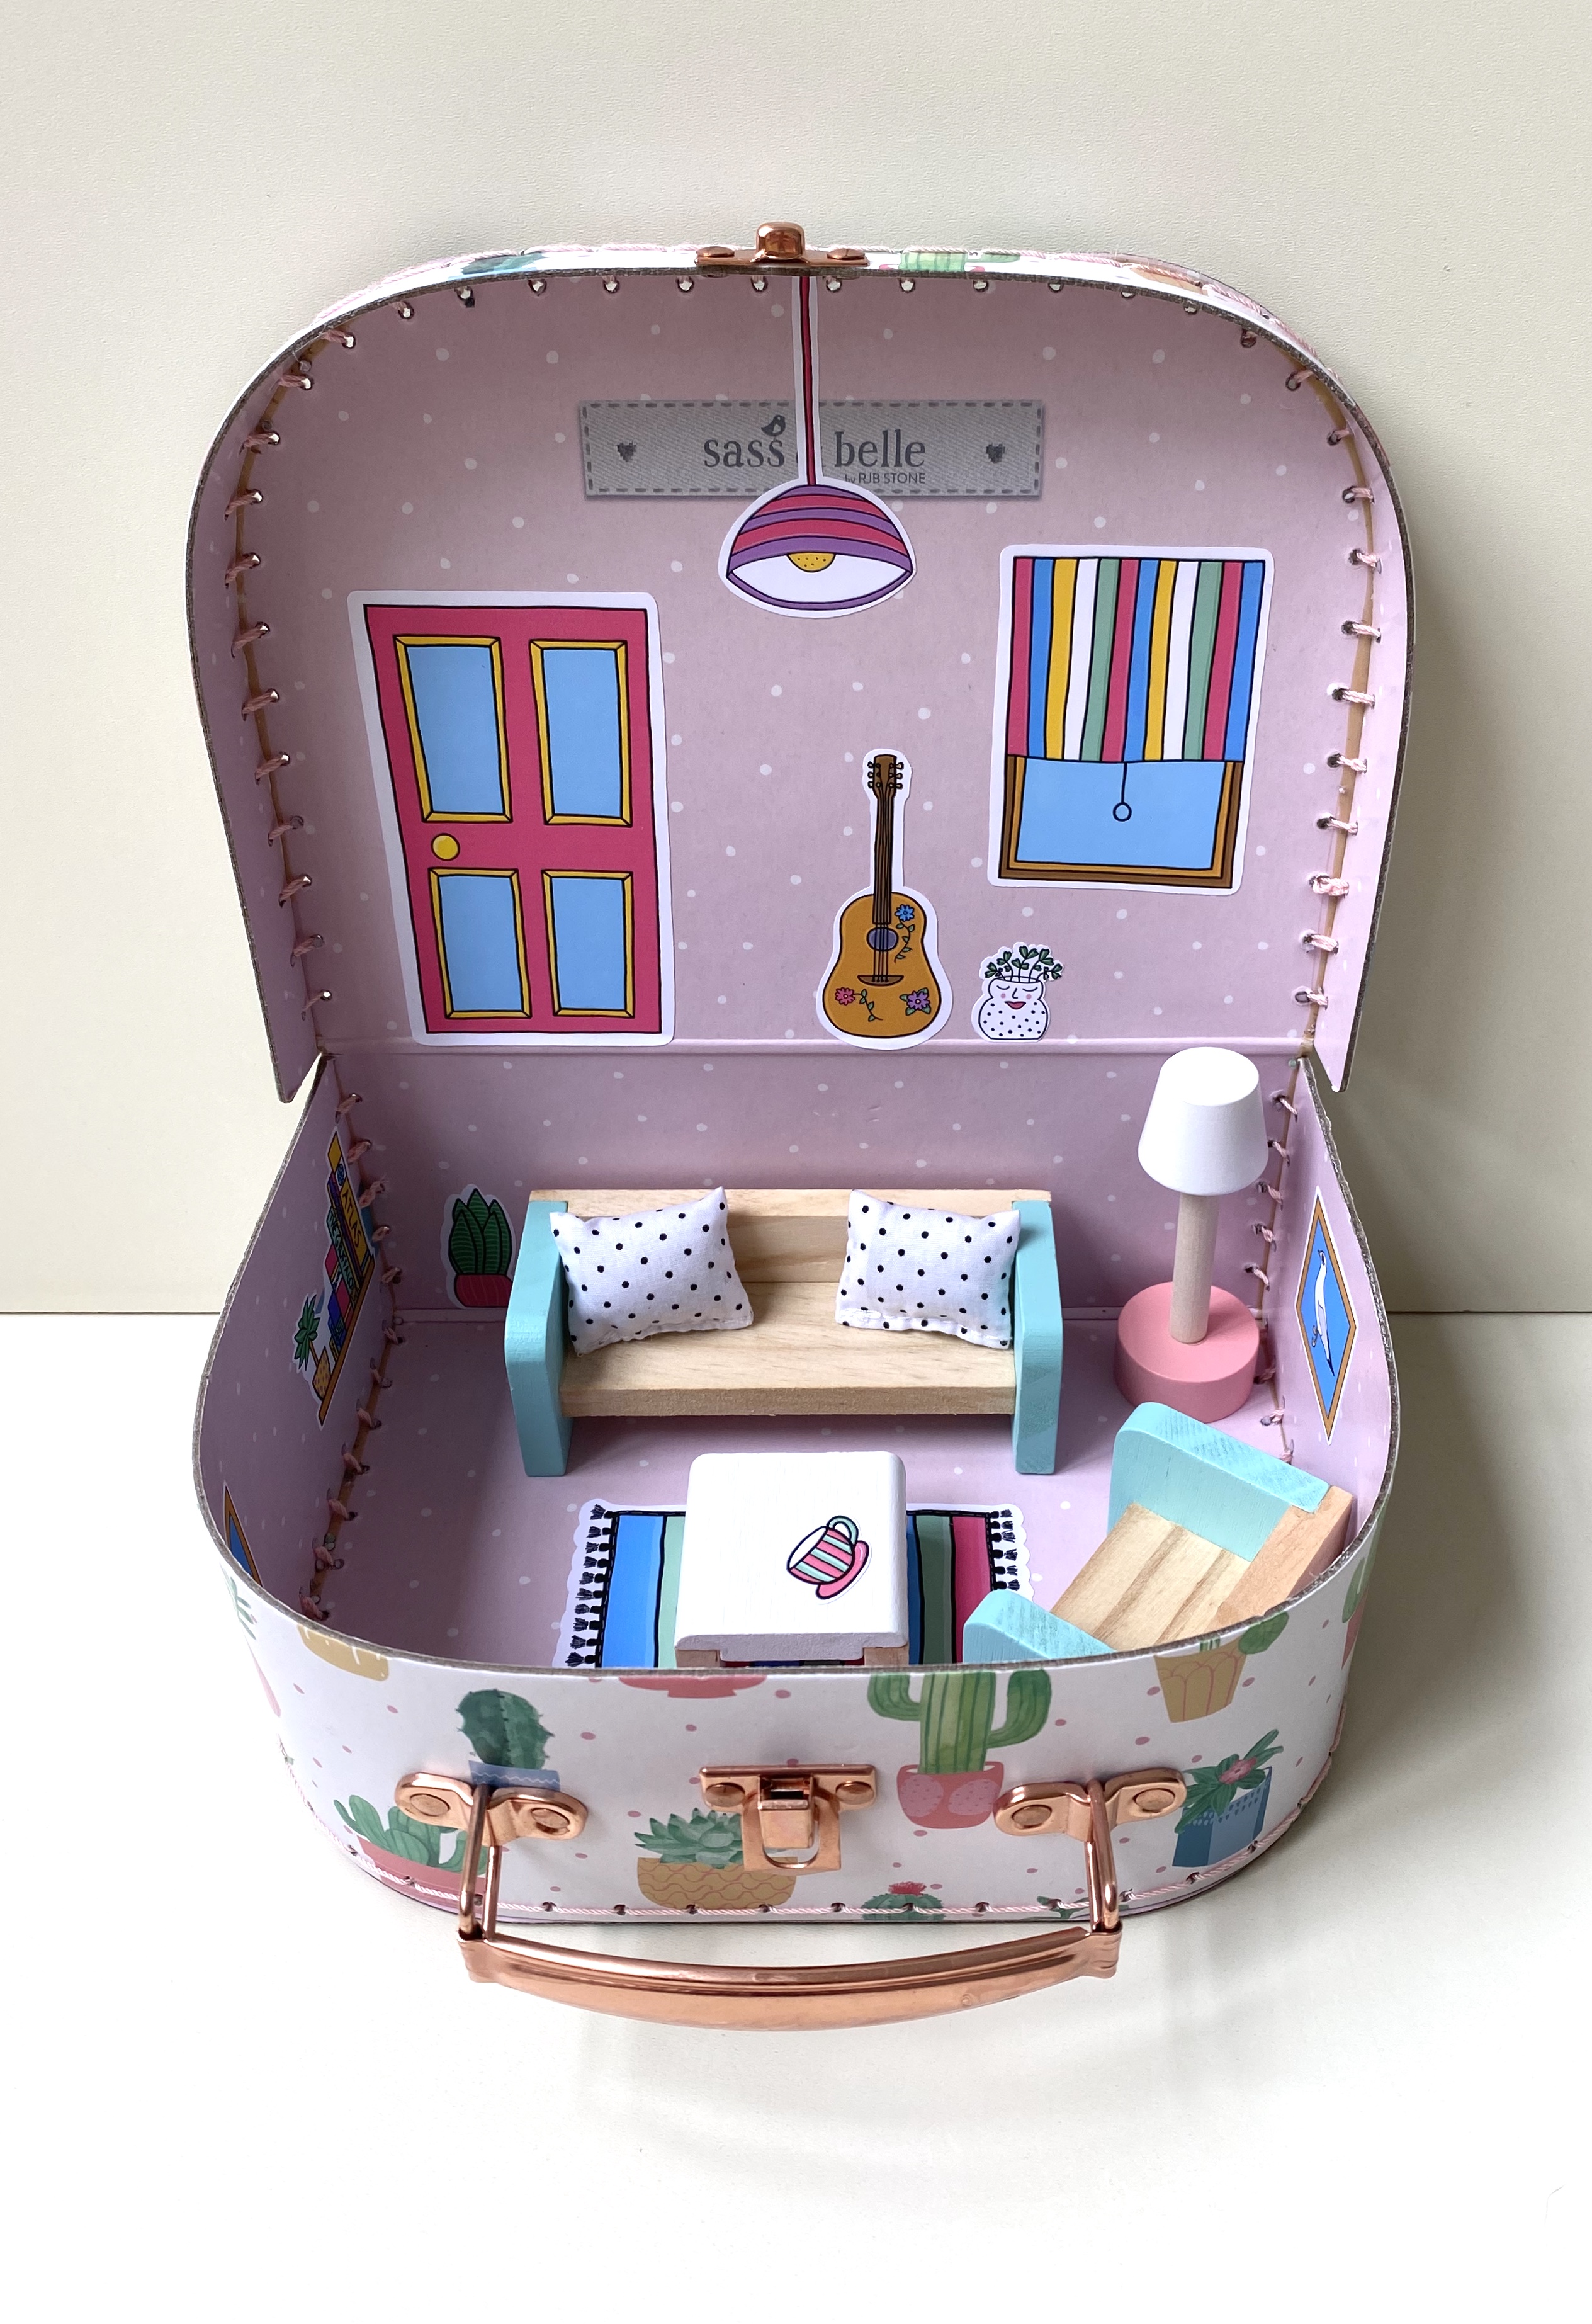
Finally, I added some of my dollhouse stickers from my shop The Travelling Doll House to the dollhouse to complete the look. One of the ideas behind using these dollhouse stickers is that the dollhouse stickers can replace some dollhouse furniture and miniatures, making it more spacious and less prone to mess. I was pretty excited to find out that it actually works in practice :). My daughter’s dollhouse has never been messy since the makeover. She told me herself that she likes to keep it pretty :). Another thing that I like is that the furniture and miniatures that we did keep in the dollhouse or added later, stands out so much more. I sometimes see photos of perfectly styled dollhouses full of stuff, which look amazing, but in reality will probably look like one big mess after one play session. I also feel that too much stuff is sometimes too overwhelming and distracting for kids, and instead of encouraging play, it seems to limit their play and their creativity (but I guess that’s the minimalist/hippie in me ;). 

Renovating this Barbie dollhouse was a big job and not for the faint hearted :), but it looks amazing in my daughter’s room and seeing how happy it makes her and how much joy she’ll get out of it in the next years, makes it totally worth it! 

How To Make Your Own Suitcase Dollhouse

Suitcase dollhouses make a great gift. They are cute, portable and don’t take up a lot of space. It’s the perfect toy for families that are often on the go, live in a small space, or just love pretty things :). Buying a suitcase dollhouse however can be rather expensive, so about a year ago I decided that I would try to make one myself for my daughter. The first one I made was with things that were just lying around the house. I posted it online and my friends were really enthusiastic. Many wanted to have suitcase dollhouses for their kids as well. In 2019, I started making suitcase dollhouses for my friend’s kids and that’s how my company The Travelling Doll House started!

In this blog I will show you how you could make your own customised suitcase dollhouse. For making your own suitcase dollhouse there are 4 things you’ll certainly need:

6B63603B-802B-4E54-8123-B7185BB1A990 2

1. A little suitcase

My favourite shop for little suitcases is definitely Sass & Belle. Sass & Belle sells the most adorable little suitcases and ships worldwide!

IMG_0370

2. Dollhouse Stickers

Well, that’s an obvious one of course ;). No suitcase dollhouse is complete without some beautiful dollhouse stickers from The Travelling Doll House, which are available in my Etsy shop. The great thing about using dollhouse stickers instead of (very small) miniatures is that they don’t move :), which means less mess. No more little teeny tiny thingies lying around everywhere, that get lost in a split second. It’s also a much more affordable option.

IMG_0292

3. Dollhouse furniture

I love to add wooden dollhouse furniture to my suitcase dollhouses. My favourite suitcase dollhouse furniture is from Kmart Australia, as it is affordable and good quality. My other local favourite is Minihome & Co. But there are lots of other brands outside of Australia that sell cute wooden dollhouse furniture too, such as Maileg or Hape.

IMG_0340 2

4. Dolls

For the dolls there are loads of options. In this suitcase I added the Maileg mouse. But you could also add wooden dolls (such as the Grimm’s wooden peg dolls) or the Sylvanian families animal dolls. Kmart Australia, Hape and Hema sell very cute and cheap wooden dolls as well. Or your child may already have a toy or doll that needs a new home.

Lastly – share your creations with your friends (and with me!) on social media. Custom made suitcase dollhouses brighten everyone’s day!